-
Shop
- Advanced Technologies
- AI Career Advantage Collection
- AI Skills Mastery 2026 Collection
- Arts, Crafts & Hobbies
- Bathroom
- Best-Sellers
- Car Accessories
- Dating & Social Skills
- Denim
- 7FOR
- AGOLDE
- Antony Morato
- Armani Exchange
- Boss
- Brunello Cucinelli
- Calvin Klein Jeans
- Costume National
- Desigual
- Diesel
- Dolce & Gabbana
- Dsquared²
- Ermanno Scervino
- Fendi
- Gianni Lupo
- Guess Jeans
- Ichi
- Just Cavalli
- Lee
- Levi's
- Liu Jo
- Morgan De Toi
- Mother Denim
- Only
- Pepe Jeans
- Pinko
- Replay
- Valentino
- Vero Moda
- Digital Resources
- Education & Learning
- Family & Parenting
- Fashion
- Furniture
- Gadgets
- Health & Beauty
- Health & Wellness
- Home & Garden
- Kids & Babies
- Kitchen
- Lighting
- Patio, Lawn & Garden
- Personal Growth
- Pet Care
- Pet Supplies
- Pets
- Sport & Outdoors
- TikTok Growth & Monetization Mastery
- Travel
- Wealth
- Popular
- Best deals
Touch-Up Paint Pen Checklist for Smooth DIY Scratch Repair
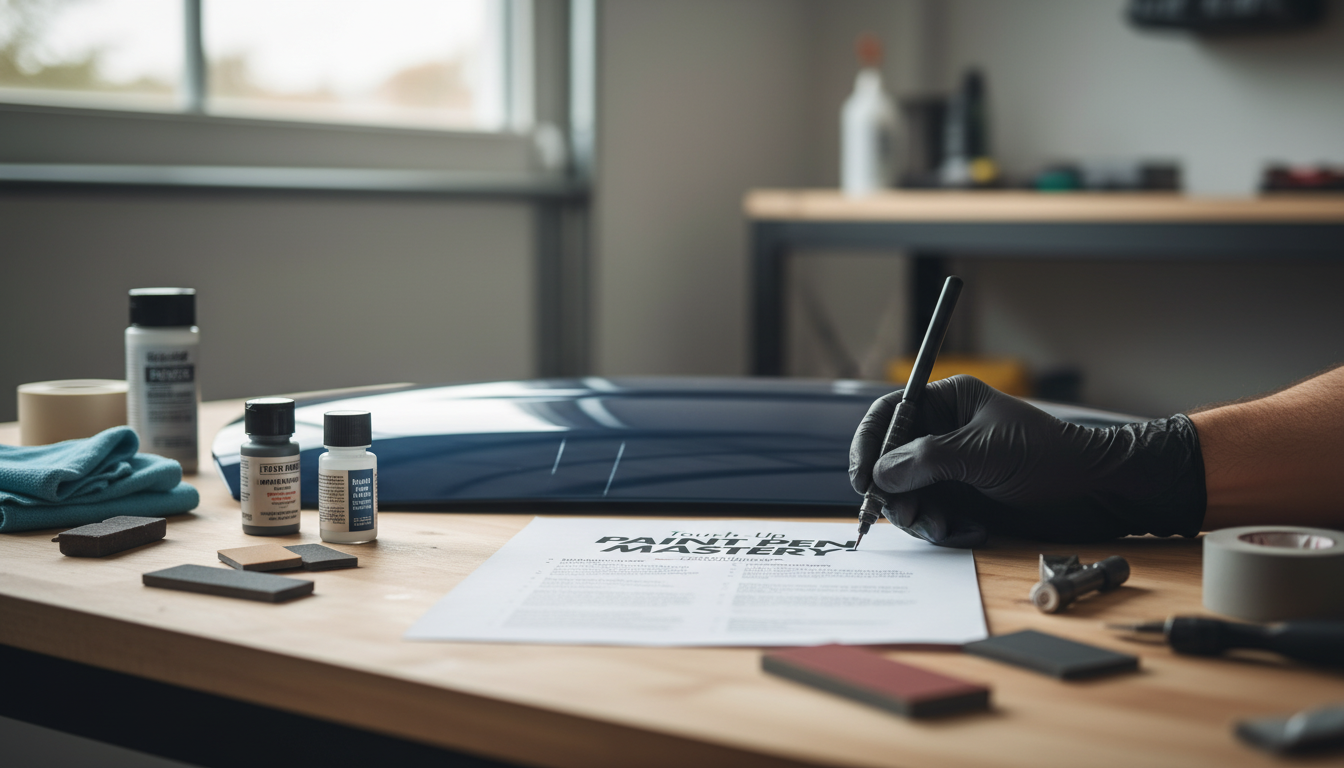
Touch-Up Paint Pen Mastery: A Checklist for Clean, Long-Lasting DIY Car Scratch Repair
A touch-up paint pen can hide chips and light scratches effectively when the prep, paint handling, and curing steps are done in the right order. Use the checklist below to avoid common issues like blobs, raised edges, mismatched texture, and premature peeling—especially around high-impact areas like hoods, doors, and bumpers. For more guidance, see The Basics of How to Touch Up Car Paint – Badell’s Collision.
What a Touch-Up Paint Pen Can (and Can’t) Fix
Paint pens shine when the damage is small, localized, and the panel itself hasn’t been distorted. They’re a practical way to protect exposed layers and make defects far less noticeable from normal viewing distance.
- Best for: stone chips, pinhead rust spots caught early, thin scratches that don’t deform the panel, and small paint nicks on edges.
- Not ideal for: dents, wide scraped areas, cracked paint, bubbling rust, or damage through primer and metal across a large section.
- Reasonable expectation: reduce visibility and protect the substrate; perfect “factory” blending usually requires spray, blending solvents, and polishing.
Before You Start: Match the Color and Plan the Repair
- Confirm the vehicle paint code using the door jamb label, under-hood label, or manufacturer documentation; don’t rely only on “looks close.”
- Work in stable conditions: shaded area, low wind, and moderate temperature to reduce dust nibs and improve leveling.
- Decide the goal per defect: chip fill (depth) vs. scratch line reduction (thin coverage).
Quick decision guide: choose the right approach for the defect
| Damage type | Typical look | Primary goal | Best pen technique |
|---|---|---|---|
| Stone chip (small crater) | Round dot with missing paint | Fill depth + seal | Layered drops; level slowly |
| Thin clear-coat scratch | White/gray line that disappears when wet | Reduce visibility | Very light application; may not need paint |
| Scratch to color coat | Colored line with no bare metal | Cover line + protect | Micro-strokes; multiple thin coats |
| Scratch to primer/metal | Gray primer or shiny metal visible | Prevent corrosion | Treat, prime if needed, then color + optional clear |
Tools and Materials Checklist
- Touch-up paint pen matched to paint code; shake time per label, then test flow on a card.
- Cleaning: pH-neutral wash soap, microfiber towels, isopropyl alcohol (IPA) diluted (e.g., 10–25%) for final wipe.
- Prep: automotive masking tape, nitrile gloves, toothpicks or micro-applicators, and a bright inspection light.
- Optional but helpful: clay bar or synthetic clay, fine finishing compound/polish, and wax/sealant for after full cure.
Surface Prep Checklist (The Step That Determines the Result)
- Wash the area thoroughly; remove road film and wax residue that can cause fisheyes.
- Decontaminate if needed: use clay only if the surface feels gritty; keep it localized to avoid marring.
- Dry completely, then wipe the exact repair zone with diluted IPA using a clean microfiber to remove oils.
- Feather loose edges: if paint is flaking around the chip, gently remove only what’s already lifting; don’t enlarge damage unnecessarily.
- If bare metal is present: remove any active rust carefully; ensure the surface is clean and stable before applying paint.
For sanding and finishing best practices (especially if you plan to level a cured touch-up), see guidance from 3M Collision Repair. For general coating behavior and cure considerations, Axalta is a helpful reference for how refinish materials respond to temperature and time.
Paint Pen Setup: Get Consistent Flow Without Flooding
- Warm the pen to room temperature; cold paint thickens and blobs.
- Shake thoroughly; then allow bubbles to settle briefly so the paint lays flatter.
- Prime on a test surface: press/activate lightly until paint appears, then stop; avoid over-priming.
- Confirm the tip style (fine tip vs. brush tip) and choose the smallest contact that can do the job cleanly.
A quick practice pass on a white index card can reveal whether the paint is flowing too fast, too thick, or separating. If it spits or foams, let it sit a minute and test again.
Application Checklist: Chips vs. Scratches
Drying, Curing, and When to Add Clear Coat
Leveling and Finishing (Optional, For a Flatter Look)
Troubleshooting: Fix Common Touch-Up Mistakes
Printable Master Checklist (One Pass, No Guesswork)
Helpful Resources
If you want a ready-to-follow version you can keep on your phone or print for the garage, use Touch-Up Paint Pen Mastery – Checklist for How to Use a Touch Up Paint Pen Correctly | DIY Car Scratch Repair Guide.
For another quick-reference checklist download (handy if you like packing and prep lists), see Ready for Winter Ready for Anything – Winter Sport Gear Basics eBook, Complete Cold Weather Gear Guide, Layering & Equipment Checklist for Winter Sports.
FAQ
How long should touch-up paint from a pen dry before driving or washing?
Most touch-ups become dry to the touch fairly quickly, but they can stay soft underneath for much longer. Drive only once it’s tack-free and won’t pick up dust, and delay washing or chemicals until the product’s stated full-cure time (temperature and humidity can extend it).
Do touch-up paint pens work on clear-coat-only scratches?
Many clear-coat-only scratches improve more with polishing than with color. If the scratch looks dramatically better when it’s wet, it’s often in the clear coat; adding paint can make it stand out if it sits on the surrounding clear instead of inside a deeper groove.
What should be done if the scratch shows bare metal?
Prioritize rust prevention: clean thoroughly, remove any active corrosion, and make sure the area is completely dry before applying anything. Use primer if appropriate for the kit and depth of damage, then add color in thin layers—never seal active rust under paint.
Recommended for you

Fila Urban Green Lace-Up Boots: Fit, Style & Care
May 19, 2026
Stop AI Tone Drift: Keep Brand Voice Consistent
May 20, 2026


Leave a comment