-
Shop
- Advanced Technologies
- AI Career Advantage Collection
- AI Skills Mastery 2026 Collection
- Arts, Crafts & Hobbies
- Bathroom
- Best-Sellers
- Car Accessories
- Dating & Social Skills
- Denim
- 7FOR
- AGOLDE
- Antony Morato
- Armani Exchange
- Boss
- Brunello Cucinelli
- Calvin Klein Jeans
- Costume National
- Desigual
- Diesel
- Dolce & Gabbana
- Dsquared²
- Ermanno Scervino
- Fendi
- Gianni Lupo
- Guess Jeans
- Ichi
- Just Cavalli
- Lee
- Levi's
- Liu Jo
- Morgan De Toi
- Mother Denim
- Only
- Pepe Jeans
- Pinko
- Replay
- Valentino
- Vero Moda
- Digital Resources
- Education & Learning
- Family & Parenting
- Fashion
- Furniture
- Gadgets
- Health & Beauty
- Health & Wellness
- Home & Garden
- Kids & Babies
- Kitchen
- Lighting
- Patio, Lawn & Garden
- Personal Growth
- Pet Care
- Pet Supplies
- Pets
- Sport & Outdoors
- TikTok Growth & Monetization Mastery
- Travel
- Wealth
- Popular
- Best deals
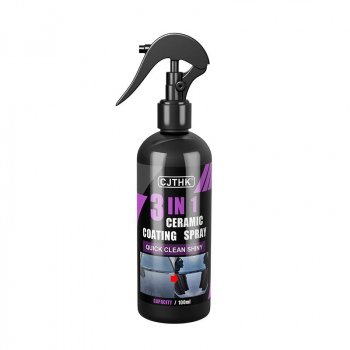
Nano Crystal Ceramic Coating Liquid: Prep, Apply, Maintain
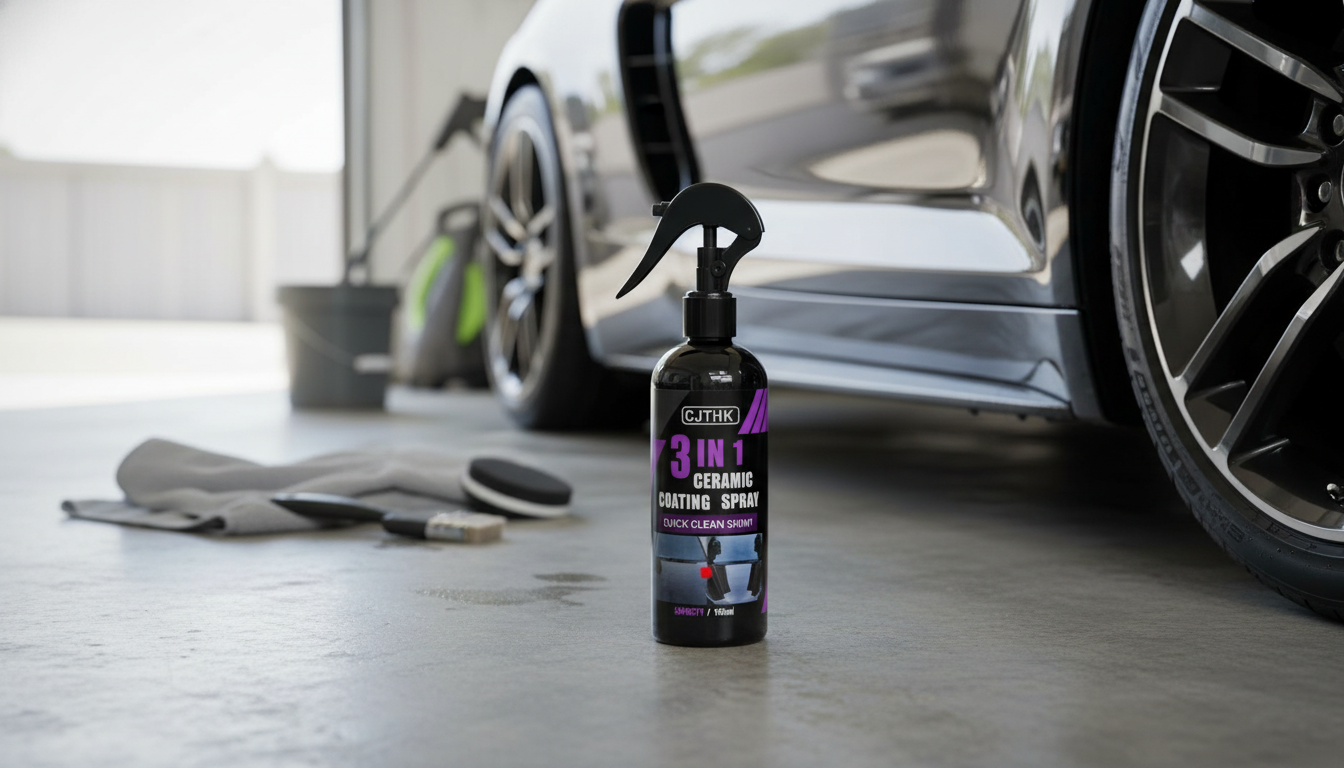
Ceramic Coating Nano Crystal Liquid: Gloss, Water Beading, and Everyday Protection
Ceramic coating nano crystal liquid is a wipe-on protective layer designed to enhance shine and help repel water, grime, and light contamination on smooth exterior surfaces. With the right prep and application, it can make routine cleaning easier and keep surfaces looking freshly detailed for longer between washes.
What This Coating Does (and What It Doesn’t)
- Adds a slick, glossy finish that helps reduce how strongly dirt and water cling to the surface
- Improves water beading and sheeting, which can help reduce water spotting when paired with proper drying
- Helps protect against light environmental fallout (dust, road film, bug residue) and minor chemical exposure from typical wash products
- Does not make paint scratch-proof; improper washing can still cause swirl marks
- Does not replace paint correction—existing haze and scratches may look more noticeable under higher gloss
For a simple, wipe-on approach to gloss and hydrophobic behavior, Ceramic Coating Nano Crystal Liquid is best treated as a protective finishing step—something that elevates a clean surface and helps it stay cleaner between gentle washes.
Best Uses and Compatible Surfaces
- Common uses: exterior painted panels, clear coat, glossy plastics, and other smooth, non-porous finishes
- Works best on surfaces that are clean, dry, and free of waxes, oils, and residues
- Avoid applying on hot panels, in direct sun, or on surfaces that cannot be buffed evenly
- Test first on a small area when using on specialty finishes or repainted panels
If a surface can’t be leveled evenly (for example, tight textures or extremely porous trim), results can be inconsistent. On typical glossy paint and clear coat, the wipe-on, buff-off process is straightforward as long as conditions are controlled.
Preparation: The Step That Controls Results
- Wash thoroughly with a pH-balanced car shampoo to remove loose grime
- Decontaminate if needed (iron remover or clay) to remove embedded particles that can interfere with bonding and smoothness
- Remove old protection layers and oils with a paint-safe prep wipe or isopropyl alcohol (IPA) dilution appropriate for detailing use
- Dry completely—trapped moisture can cause streaking or uneven curing
- Work indoors or in shade with good ventilation for more consistent leveling
Prep determines whether the coating lays down clear and glossy or ends up fighting leftover wax, road film, or oily residue. If water doesn’t sheet off cleanly after rinsing, or the paint feels “grabby” even after washing, a decontamination step often pays off.
Application Steps for Even Coverage
- Shake the bottle and apply a small amount to an applicator pad or microfiber, starting with one panel at a time
- Spread in a crosshatch pattern (left-right, then up-down) to ensure uniform coverage
- Allow a short “flash” time based on temperature and humidity; look for a light haze or tackiness before leveling
- Buff/level with a clean, dry microfiber towel, then follow with a second towel to refine the finish and reduce high spots
- Inspect under angled light; re-level any streaks immediately before the coating sets
Use a towel that’s soft and clean enough to finish without instilling marring. Keeping a dedicated buffing towel on hand—separate from wash or drying towels—helps avoid dragging leftover grit across the paint. A plush option like the Soft Striped Coral Fleece Face Towel can be reserved strictly for final buffing and touch-ups once the surface is already clean.
Curing and First 48 Hours
- Keep the surface dry after application; avoid rain, sprinklers, and washing during the initial cure window
- Avoid harsh cleaners or aggressive washing for the first week when possible
- If dust lands during curing, use gentle detailing techniques to avoid marring (soft microfiber and minimal pressure)
- For best longevity, maintain with gentle washes and proper drying rather than strong degreasers
Maintenance That Preserves Gloss
Maintenance is where coatings earn their reputation. When water beads tightly, it also tends to leave minerals behind if it air-dries. A careful hand-dry after washing is often the difference between “always looks freshly detailed” and “looks great but spots easily.” For general wash guidance, the Car Care Council’s best practices are a helpful reference: Car Wash Tips.
Ceramic Coating vs Wax and Sealants
Quick Comparison: Common Paint Protection Options
| Option | Typical Strengths | Typical Tradeoffs | Best For |
|---|---|---|---|
| Nano crystal ceramic coating liquid | High gloss, strong water beading, easier cleaning | Requires careful prep and leveling; not scratch-proof | Drivers who want longer-lasting shine with regular gentle washes |
| Synthetic paint sealant | Good durability, easy application | May not bead as dramatically as coatings | Balanced protection with straightforward upkeep |
| Carnauba wax | Classic warm shine, simple to use | Shorter life; can be affected by heat and detergents | Quick shine boosts and frequent reapplication |
Safety and Handling
If you’re setting up a small home detailing routine, it helps to follow basic PPE and chemical safety guidance, including eye/face protection and ventilation recommendations from authoritative sources like OSHA and NIOSH.
When to Reapply and Signs It’s Time
FAQ
How long does nano crystal ceramic coating liquid last?
Expect anything from a few weeks to several months depending on prep quality, exposure (garage vs outdoors), and washing habits. Proper curing time and gentle maintenance usually extend gloss and water beading the most.
Can ceramic coating be applied over wax or sealant?
Bonding is best on a clean, bare surface, so waxes and oily residues should be removed first with a paint-safe prep wipe or detailing-appropriate IPA wipe-down. If you’re unsure, do a small test spot to confirm it levels cleanly without smearing or hazing.
Why is my coating streaky or hazy after buffing?
Common causes include using too much product, applying on a hot panel, waiting too long to level, or working in high humidity. Re-level right away with a clean, dry microfiber towel and adjust your flash time—shorter in heat/humidity and longer in cool, dry conditions.


Leave a comment